Valentine's Day
|
|
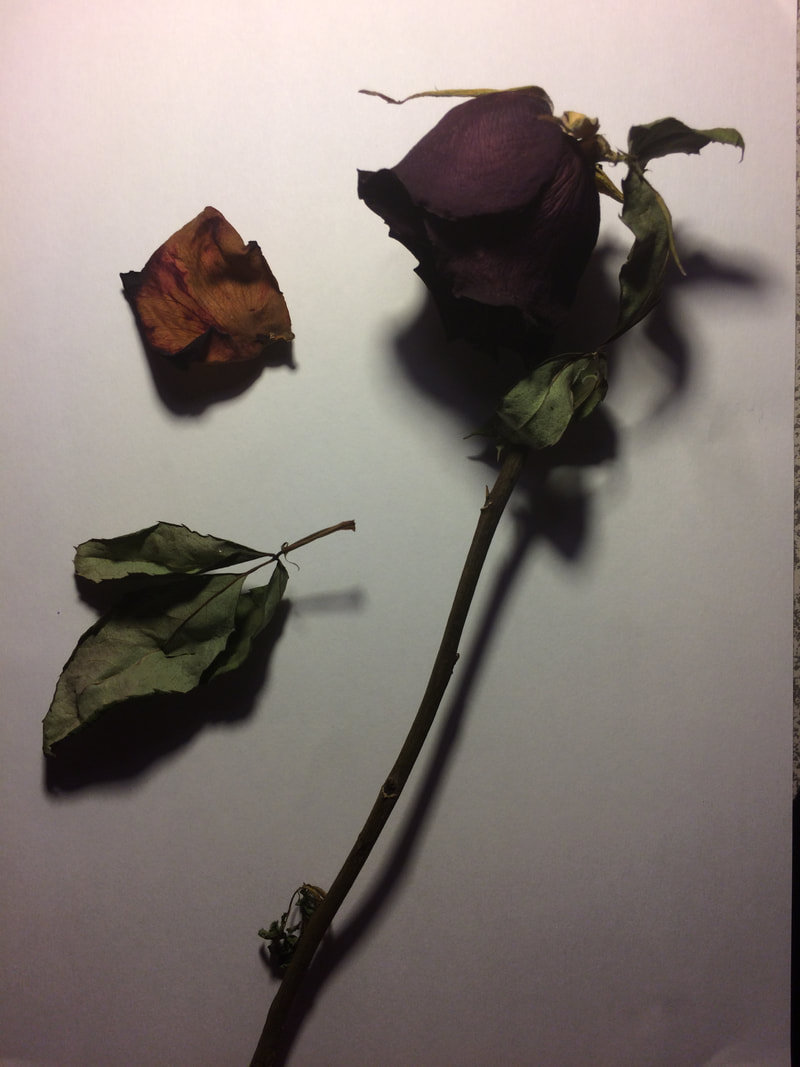
After the initial white balancing and cropping, I started working on making the image brighter and more textured. I increased the whites and decreased the shadows to bring the background out. I then used the dehaze and clarify sliders to bring out the details of the rose and its parts, and then saturated the image to make the colours more present. I finished by adding some luminance to give the rose a slight glow.
|

|
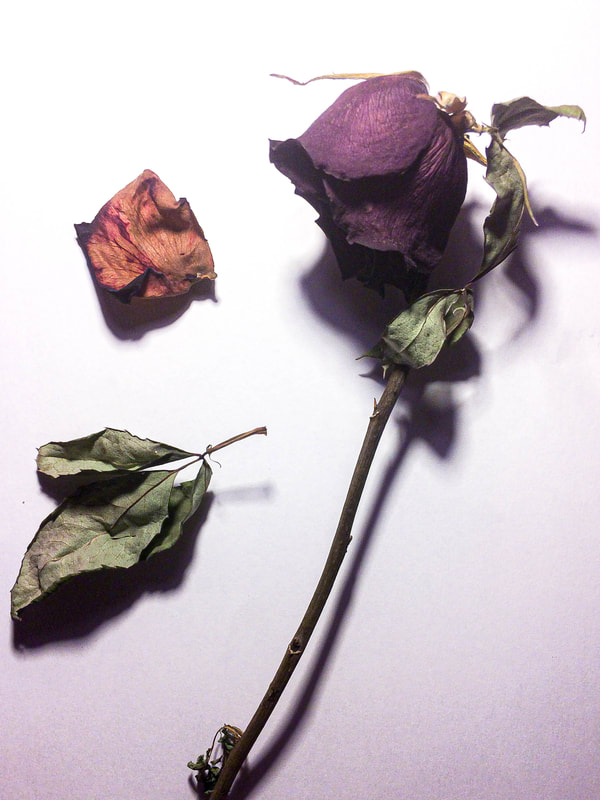
After the initial white balancing and cropping, I started working on making the image brighter and softer. I exposed the image and increased the whited to brighten it more. I then added more vibrance to make the colours pop against the textured background, I finished by increasing the luminance and colour detail in order to soften the image and smooth out the textures in the image.
|
|
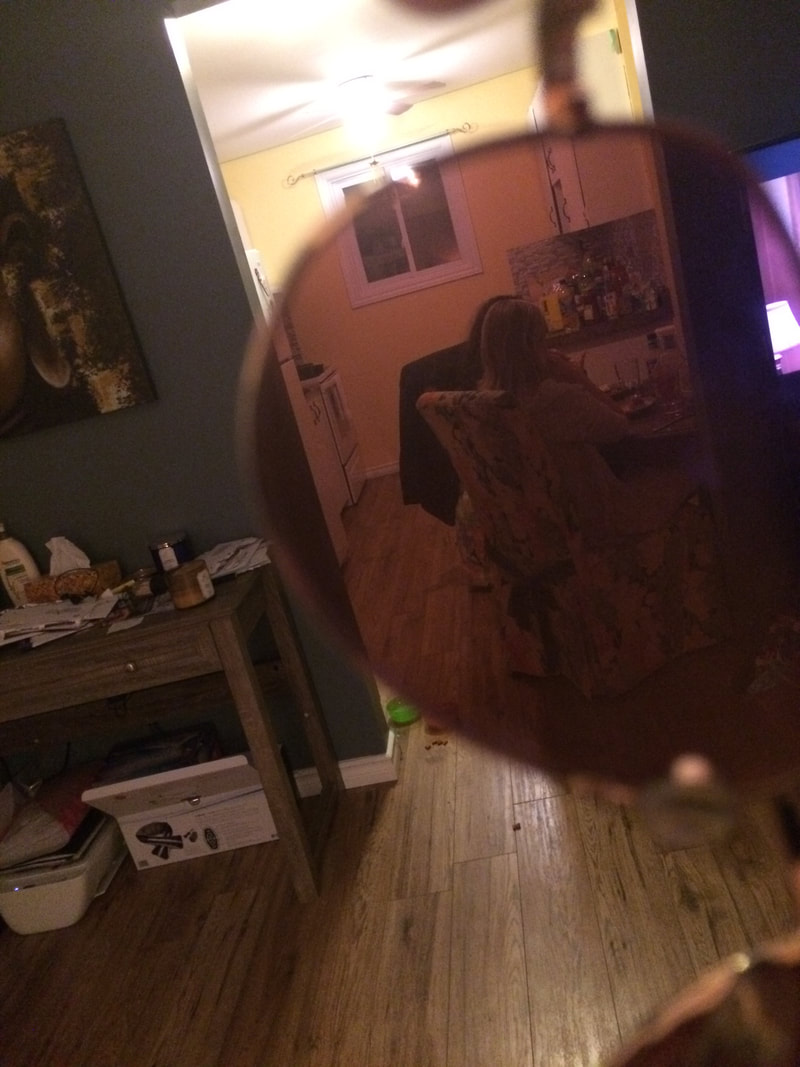
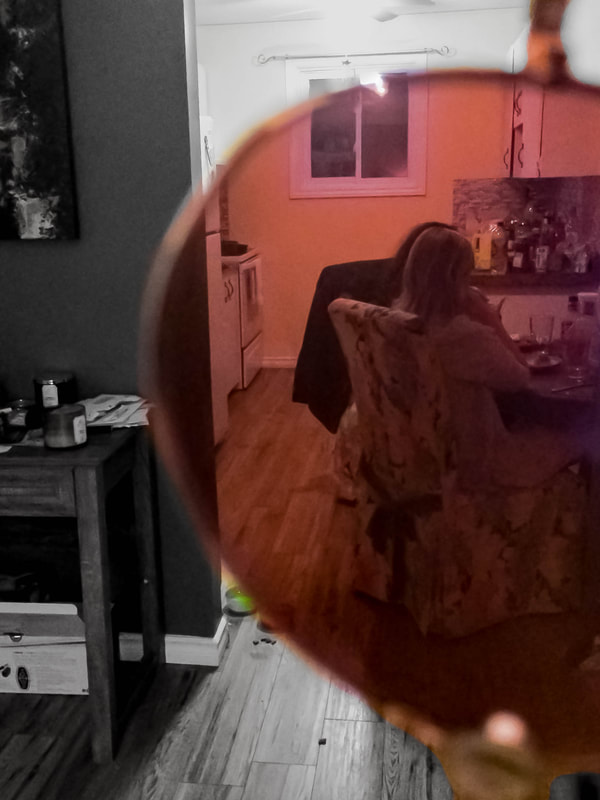
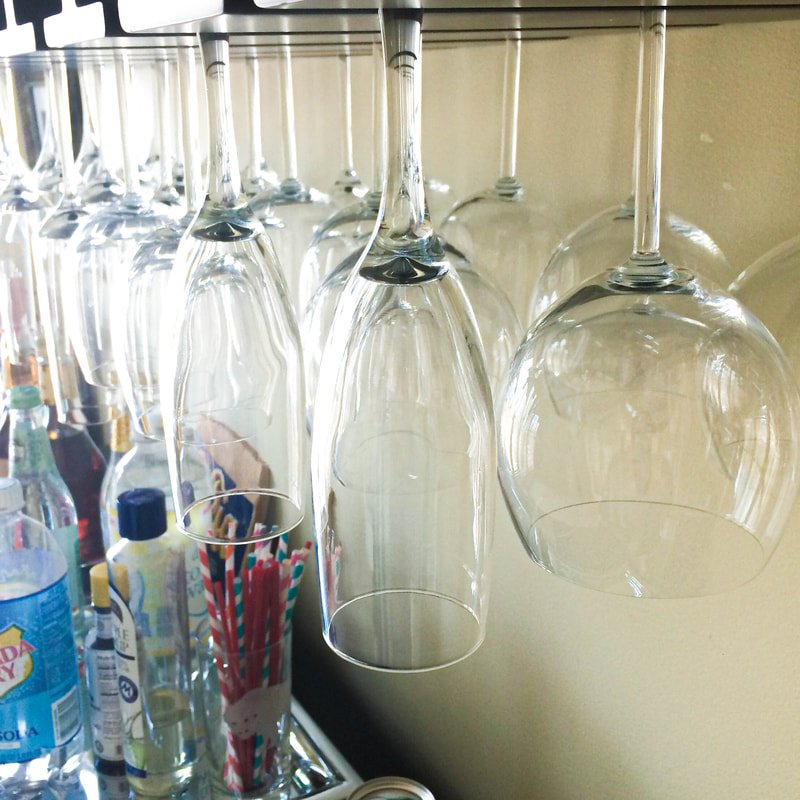
After the initial white balancing and cropping, I started working on making the image more contrasted and adding the glasses effect. I increased the highlights, shadows, and sharpness to give the image more information. To make the glasses effect, I masked everywhere outside of the glasses and fully desaturated it. I finished it by further increasing the highlights, shadows, and sharpness to make the lens area look softer.
Patterns
|

|
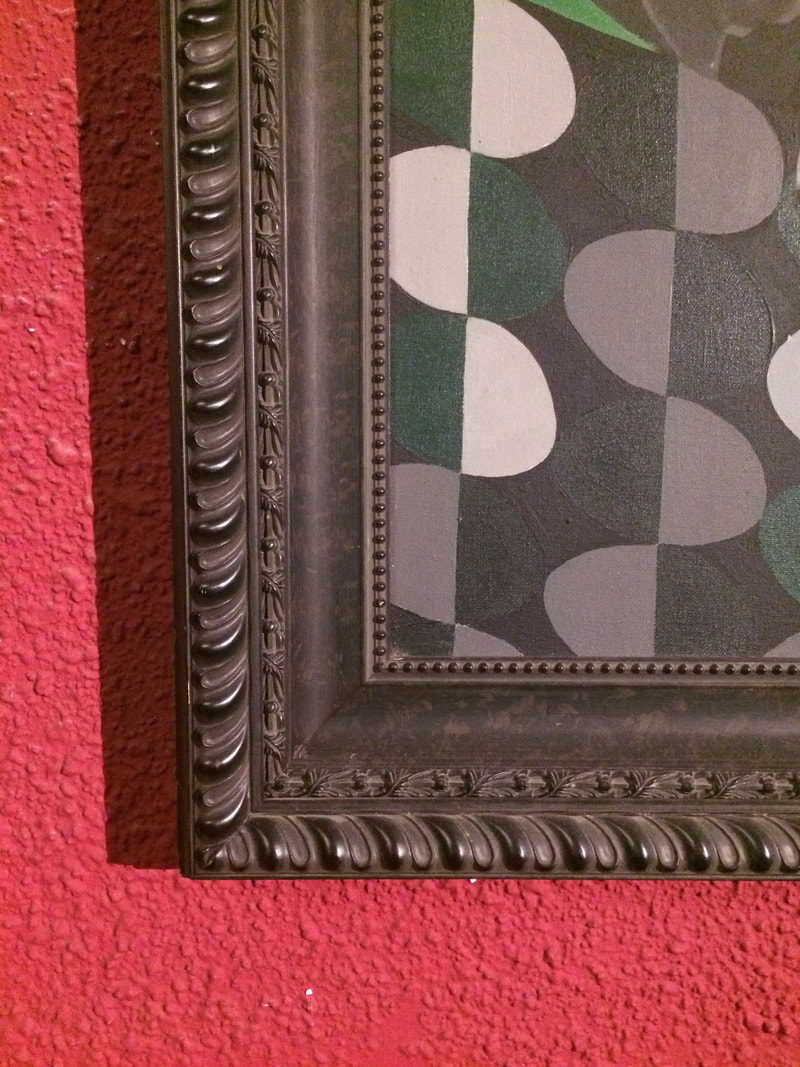
After the initial white balancing and cropping, I started working on making the image more saturated. I increased the whites and blacks to make the painting clearer. I also added more texture to make the details of the image more prominent. I finished by turning the vibrance and saturation up to give a better colour contrast.
|
|
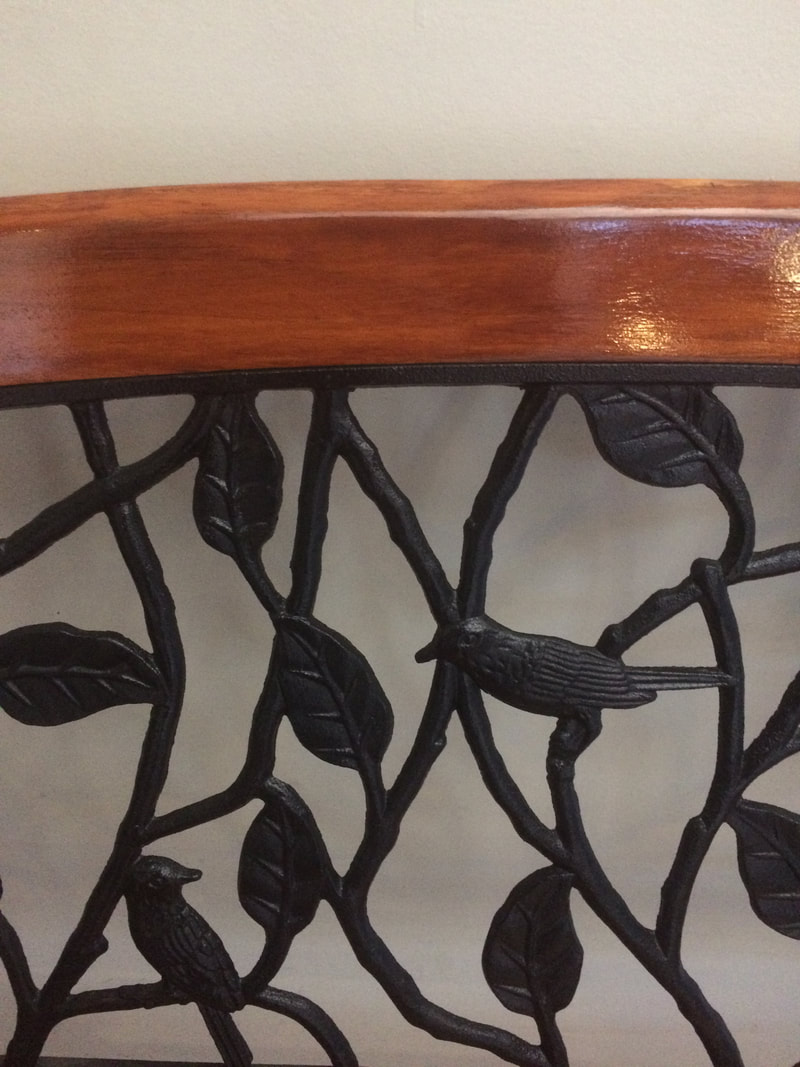
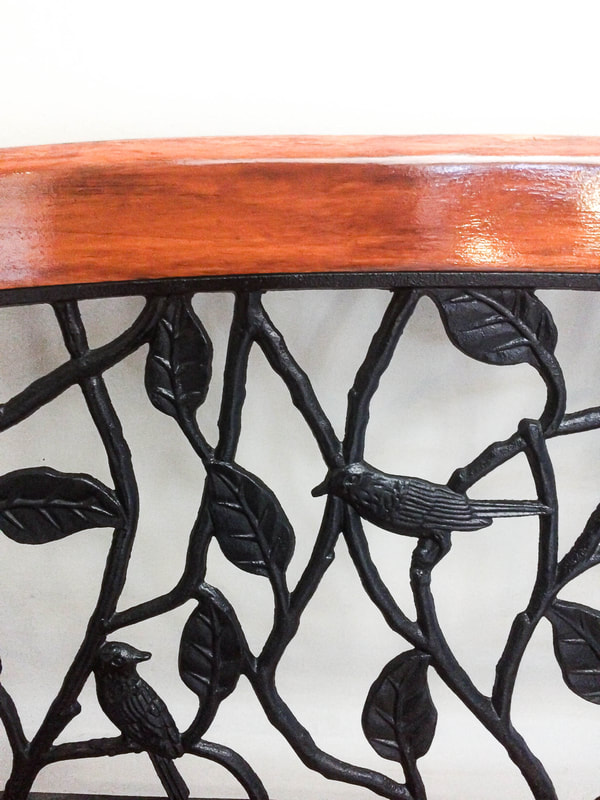
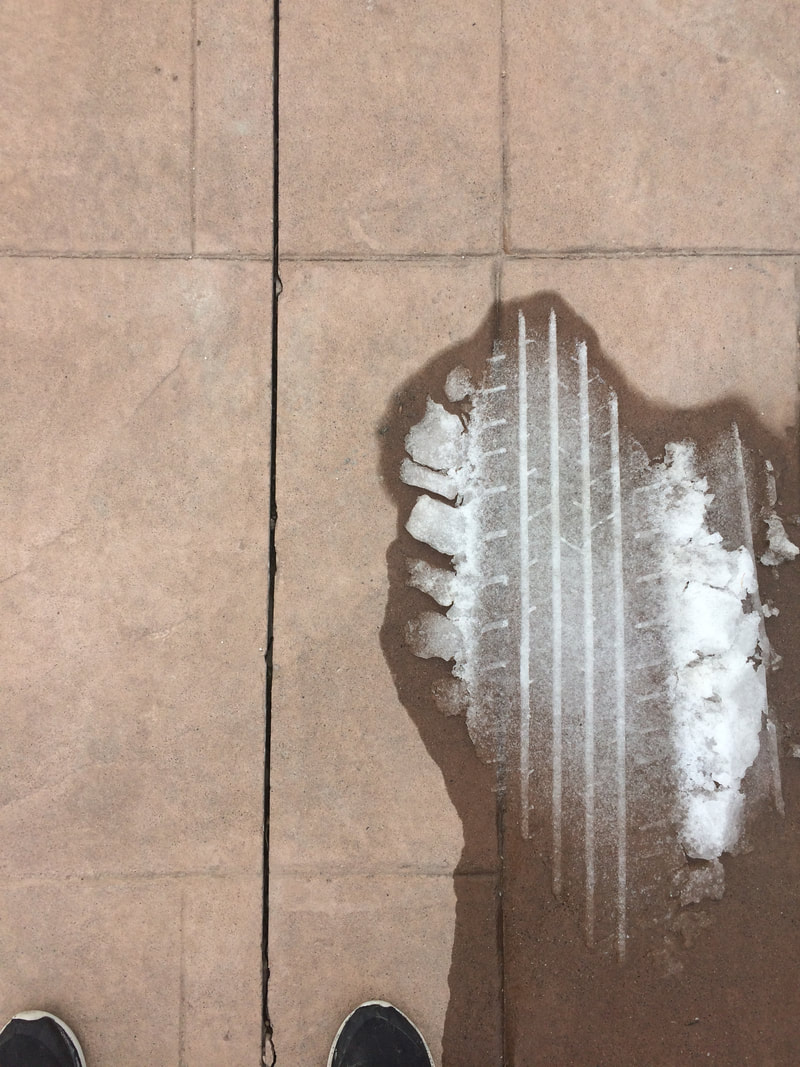
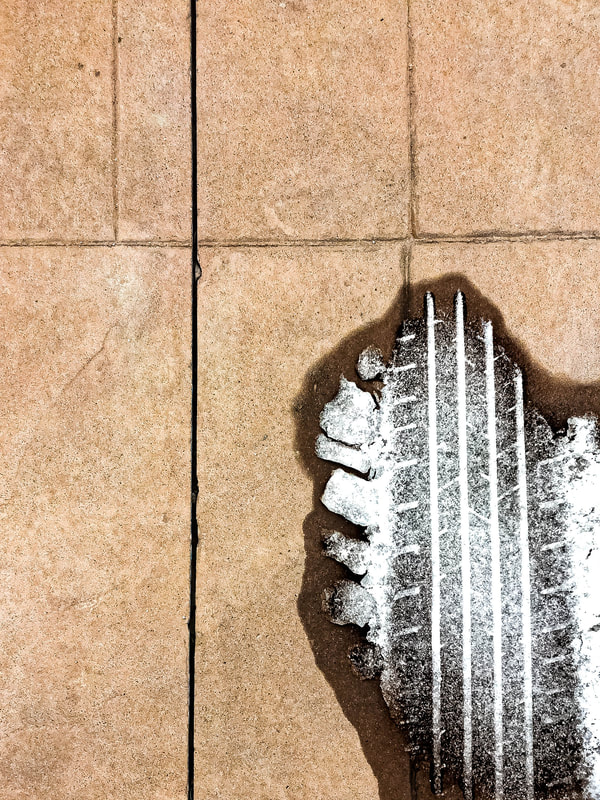
After the initial white balancing and cropping, I started working on making the image brighter and more contrasted. I increased the whites and blacks to make the metal and the wall contrast more. I also added vibrance and saturation to make the wood more colourful. I finished by turning the luminance to soften the shadows on the wall..
|
|
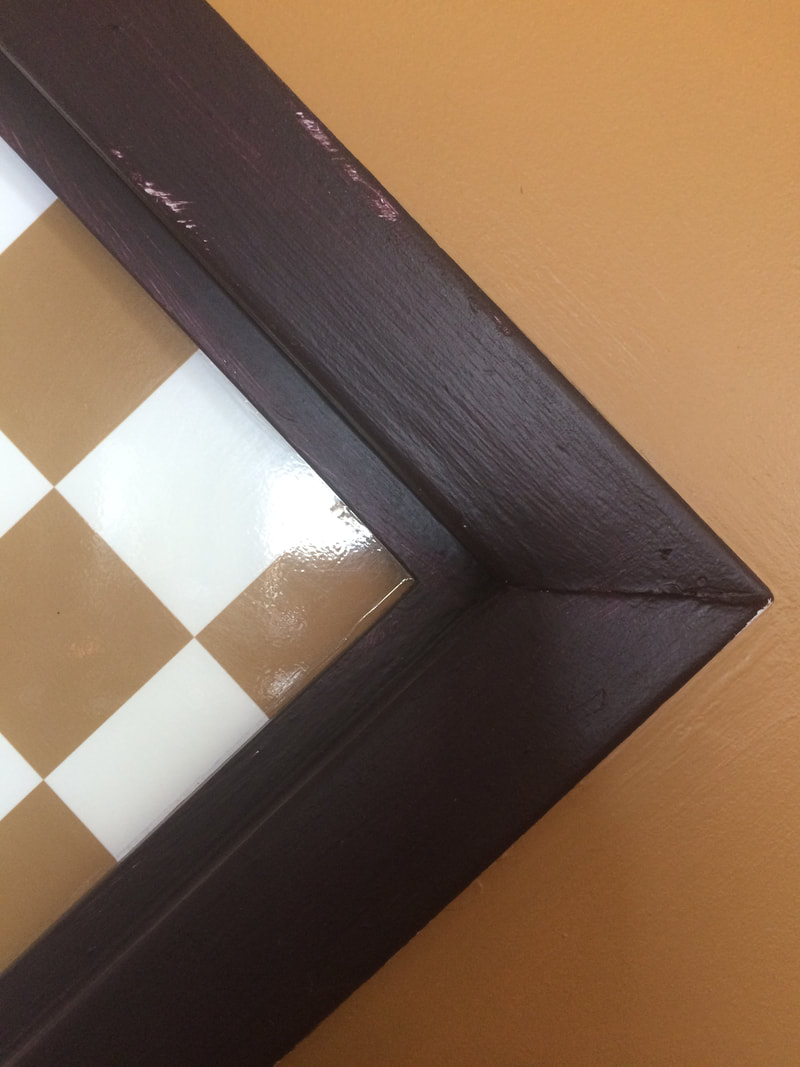
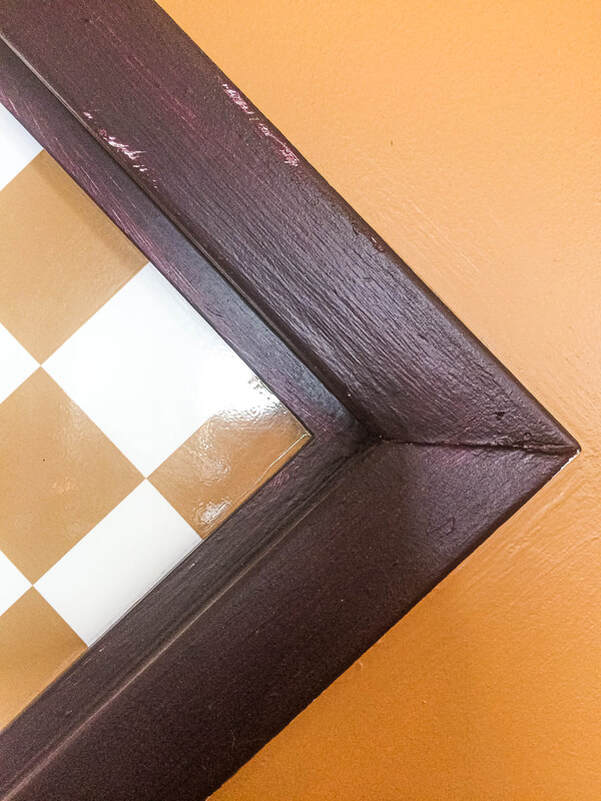
After the initial white balancing and cropping, I started working on making the image brighter and more detailed. I increased the contrast and exposure to make the orange and brown contrast. I also added more texture to make the details of the wood and the tile clearer. I finished by attempting to add a mask to clear up the shadow in the bottom of the image.
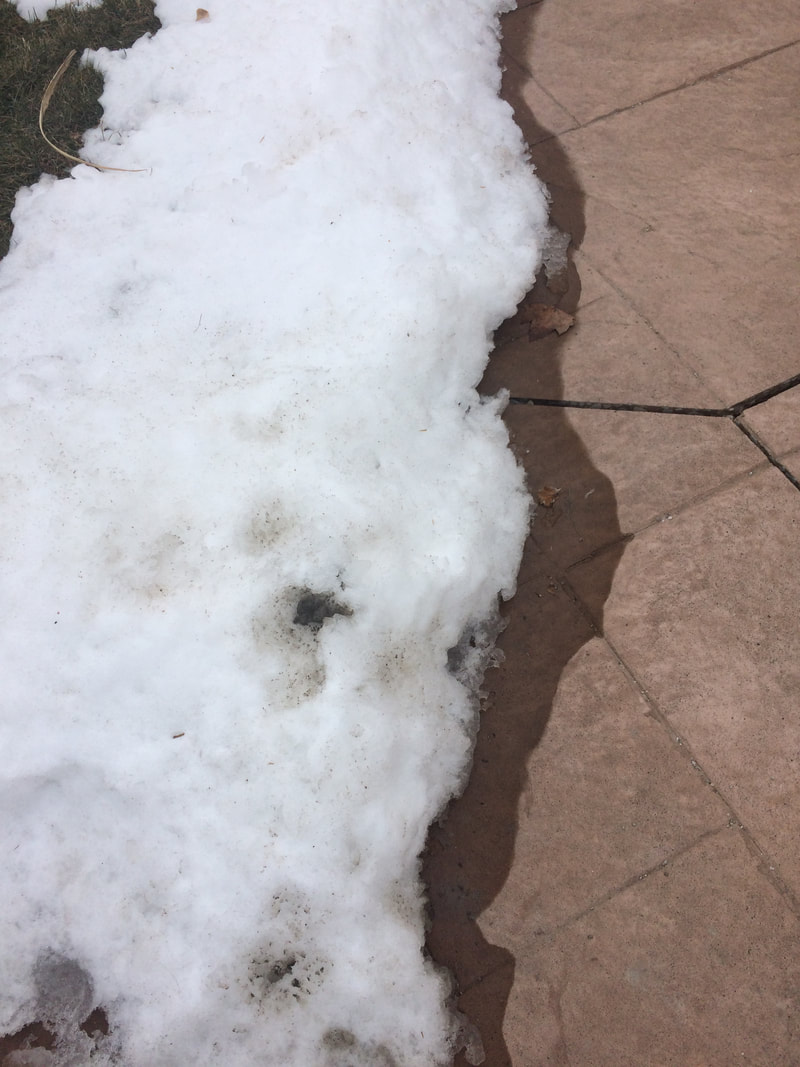
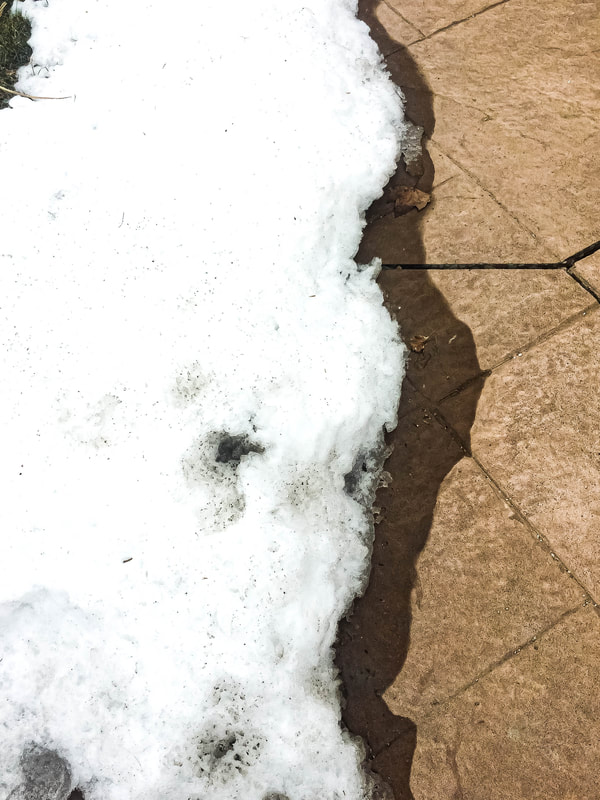
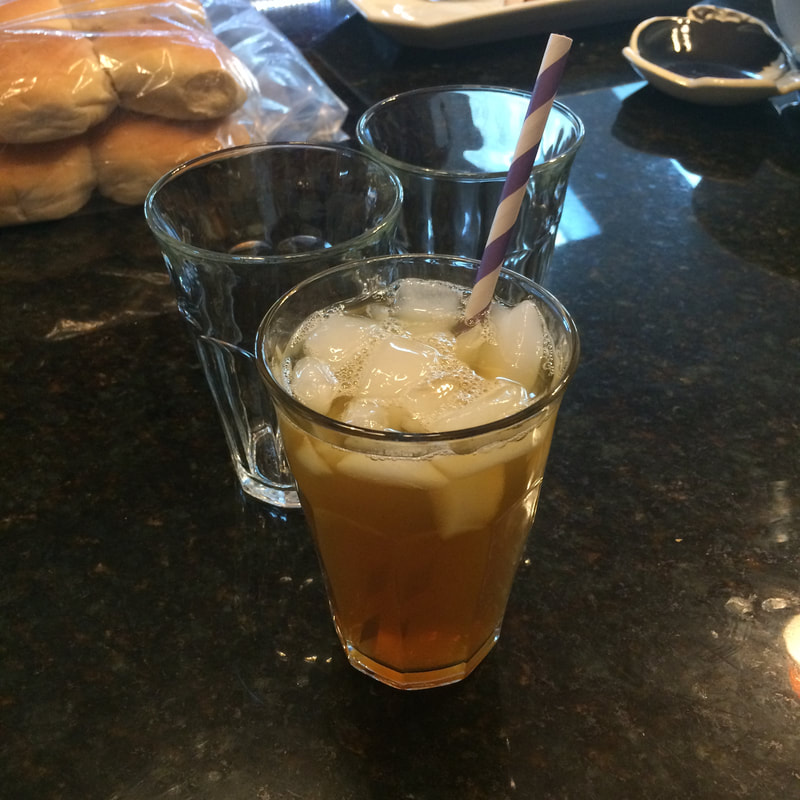
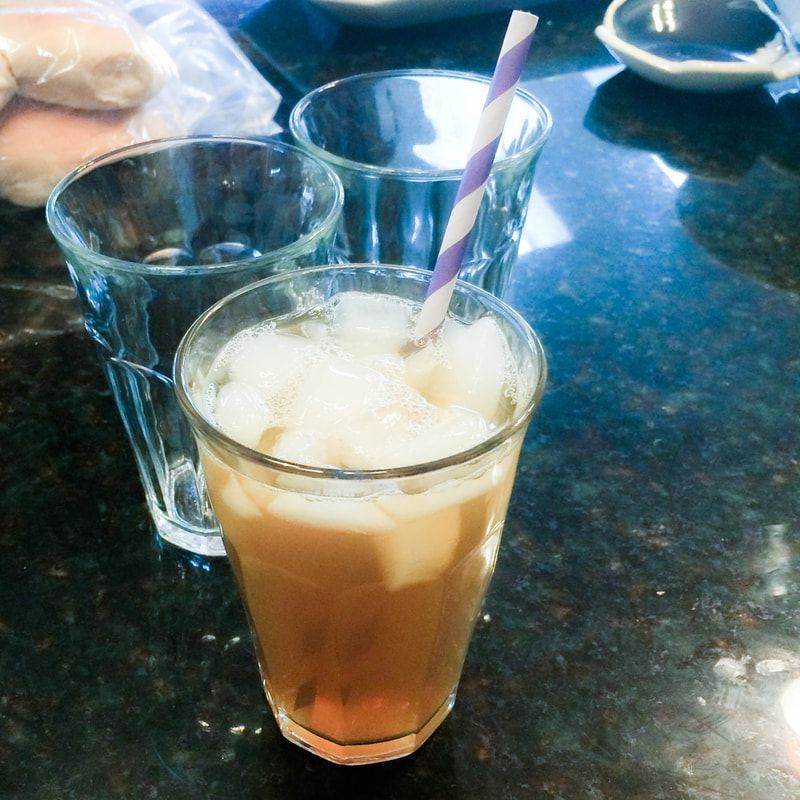
Winter Wonderland
|
|
|
|
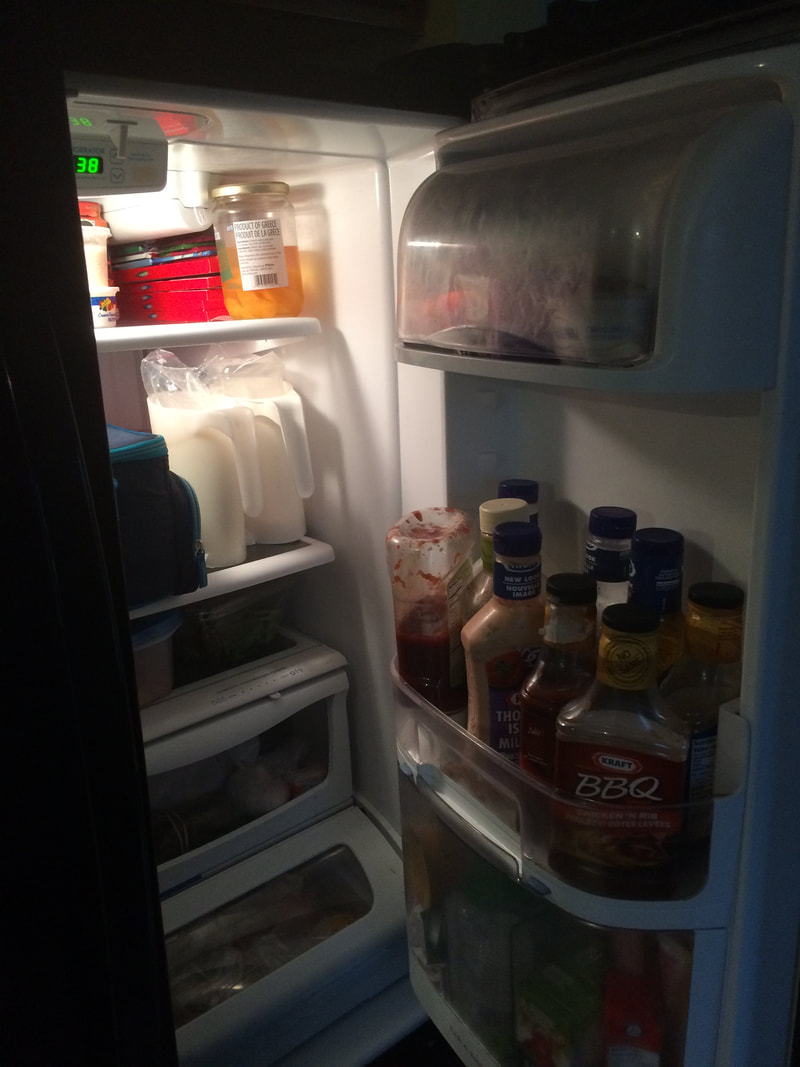
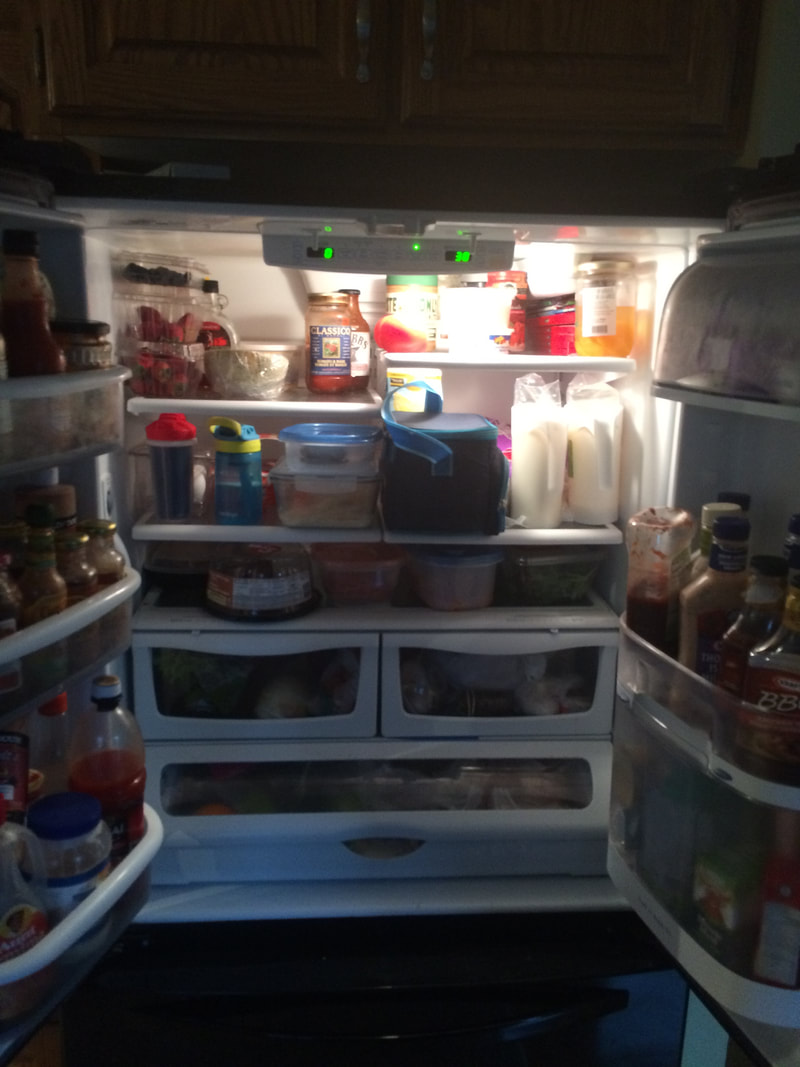
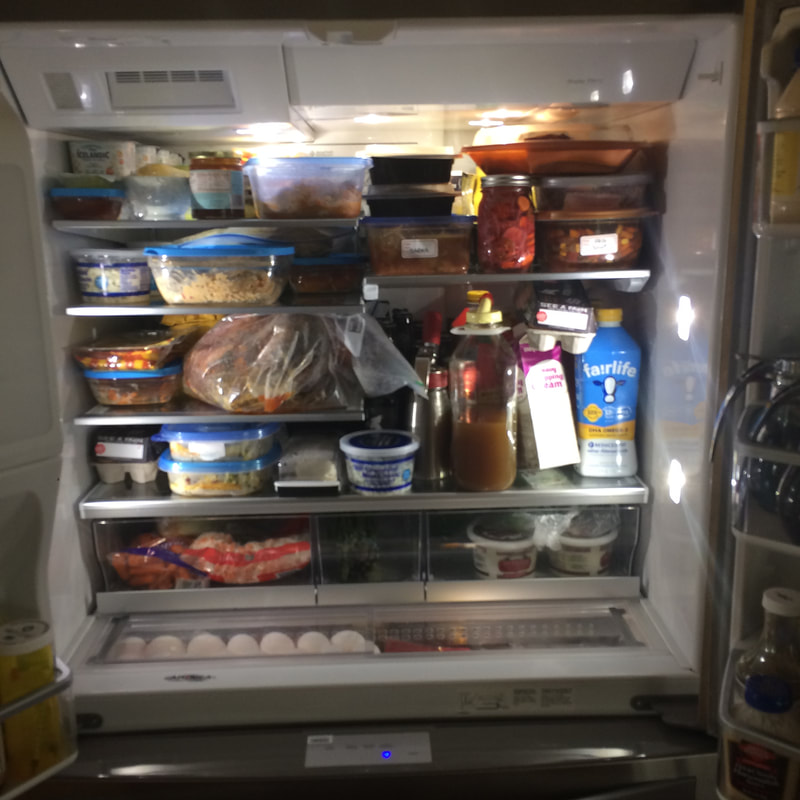
Fridges
|
|
|
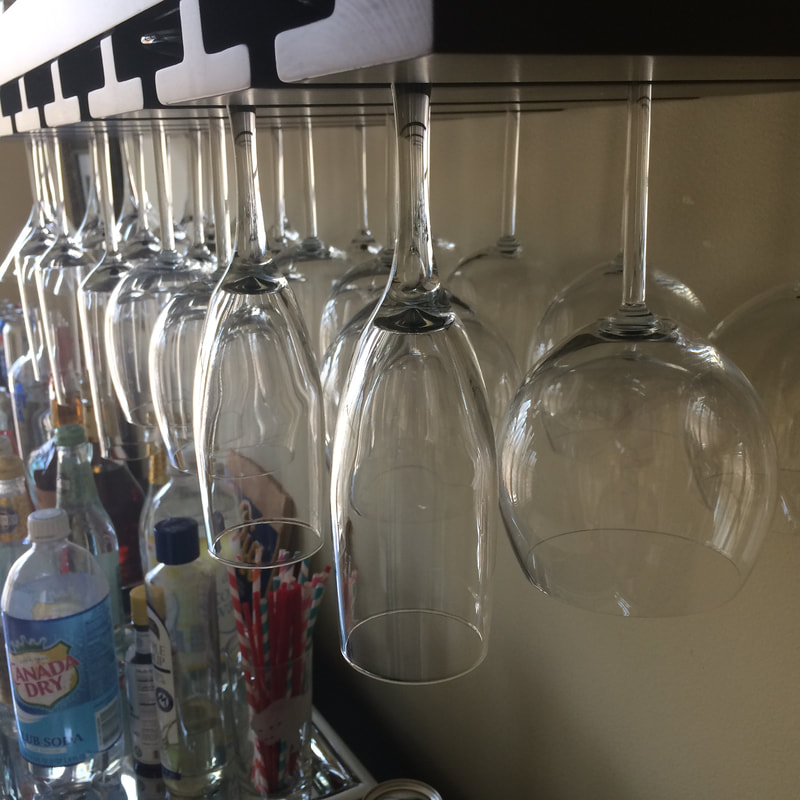
Glasses And Bottles
|
|
|
|
|
|
